
iPhone Photo Will Not Upload? Convert HEIC to JPG Without Replacing the Original
Your photo opens on your phone, but a job application, listing form, or older image editor says the file type is unsupported. Before taking the photo again or making a screenshot, check whether you are sending an HEIC original to a service that expects JPG.
First identify what the upload form is rejecting
Check the filename in Files or your computer’s file manager. An original might be named IMG_2048.HEIC, while a copy shared through another app may already be IMG_2048.JPG. Do not assume every iPhone photo is HEIC or every Android photo is JPEG. Capture options and transfer methods change what arrives at your computer.
Then read the destination’s requirements. “JPG or PNG only” is a format restriction. “Under 2 MB” is a size restriction. “At least 1200 pixels wide” is a dimension restriction. Converting to JPG solves the first kind; it does not automatically meet the other two. If a JPG is already rejected, investigate its size and dimensions before converting it again.
| What you see | Likely next step | What not to do |
|---|---|---|
| .HEIC and “JPG only” | Convert to a real JPG | Rename the extension |
| .JPG and “file too large” | Compress the photo | Convert to a larger PNG |
| Correct format, wrong dimensions | Resize to the required pixels | Take a screenshot with unknown resolution |
| .DNG or RAW original | Develop with a DNG converter or RAW editor | Send it to the HEIC converter |
Why renaming HEIC to JPG does not work
The extension is a label, not the image encoding. Renaming a file leaves its contents unchanged. A form may accept the new filename and fail later when it tries to read JPEG data that is not there. A converter decodes the source image and encodes a new JPEG, so the downloaded file contains the format its name promises.
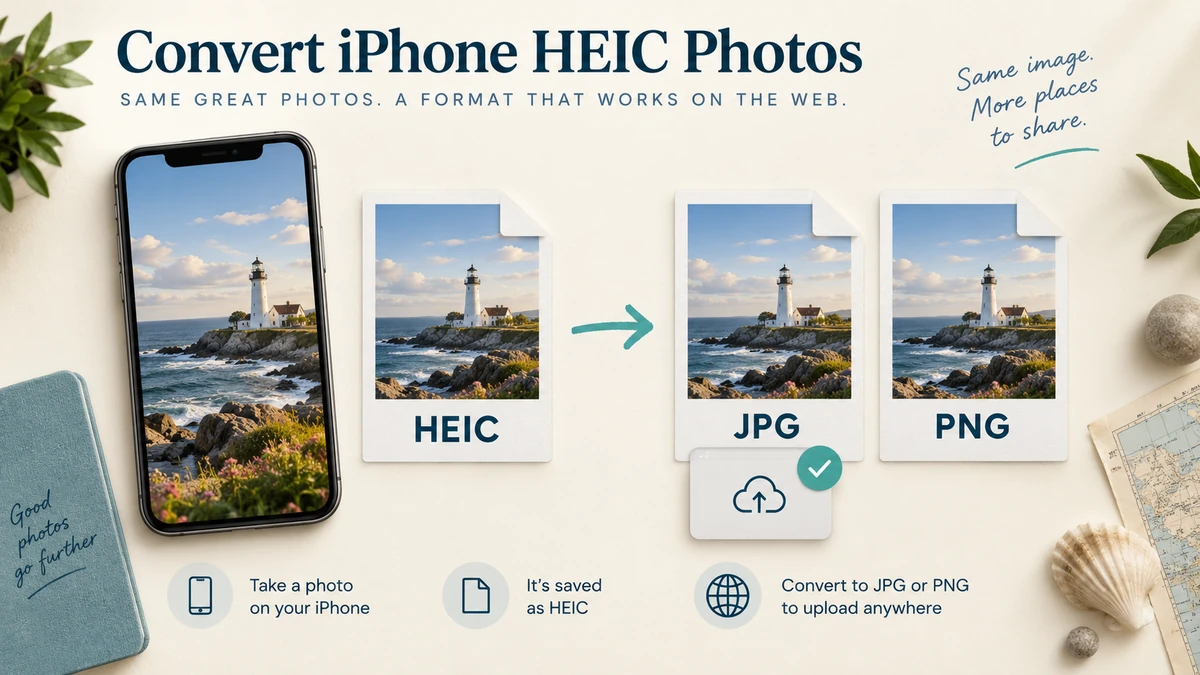
Choose JPG for sharing, PNG for rendered-pixel preservation
For a normal photograph, begin with JPG at quality 90. This is a starting setting, not a universal quality score or a promise of a particular file size. Smooth sky, hair, foliage, and small lettering react differently to compression. If a form rejects the size, lower quality gradually or use a target-size compressor instead of guessing repeatedly.
PNG avoids an additional lossy encoding step after decoding, but photographic detail often makes its file much larger. It cannot restore detail that was already lost in HEIC compression. Both outputs here are 8-bit rendered still images; neither is an archive of Live Photo video, depth data, or HDR gain maps. Choose based on the file you need to deliver, and retain the original.
Convert a collection without losing track of the photos
- Put the originals in a separate folder. Use meaningful filenames when the destination requires labels such as front, back, or receipt.
- Open the HEIC converter and drop several .heic or .heif files into the blue area. You can click the same area to add more later.
- Choose JPG or PNG before pressing Convert photos. Conversion is sequential so the interface does not decode the whole batch simultaneously.
- Inspect the tiles for dimensions, output size, and errors. Click a preview to enlarge it. A failed photo does not invalidate the successful ones.
- Download a single result or a ZIP. Extract the ZIP before uploading to a form that expects images rather than archives.
Changing output settings invalidates the previous downloads and requires another conversion. Thumbnails may still show the prior conversion while queued; do not mistake them for newly generated PNGs. If you stop a batch, completed results remain available and unfinished photos can be resumed. Avoid closing the tab until the files you need are saved.
Check the downloaded copy, not only the thumbnail
- Open the saved file in an image viewer and check that it is upright.
- Inspect a small, meaningful area at 100% zoom: text, eyes, fabric, or product detail.
- Confirm that the pixel dimensions are sufficient for the destination.
- Check the actual file size against the stated upload limit.
- Upload one sample before spending time converting a whole collection.
If the photo is upright but the result still looks different from your phone, HDR rendering and color handling may be involved. This converter makes a standard rendered still image, not an exact reconstruction of every device’s HDR display. For important color-sensitive work, compare an export from your photo editor rather than assuming a successful decode proves identical appearance.
Keep location privacy and future capture separate
Conversion happens locally and does not upload the photos. Camera and GPS metadata are not copied to these downloads. That does not remove private details visible in the picture: addresses on a parcel, a person’s face, or a computer screen still need your attention. Metadata removal is not the same as anonymizing the photograph.
For future iPhone captures, Apple documents the Most Compatible option under Settings → Camera → Formats to use JPEG for photos on supported devices. It affects future captures rather than rewriting your existing HEIC library. Apple also notes that some sharing methods automatically provide a more compatible format, so inspect the received file before converting it again. See Apple’s HEIF compatibility guidance.
If the format now works but the upload is too large, continue with Image Compressor. If a form demands specific dimensions, use Image Resizer. These are separate problems with separate controls; fixing only the extension is not always the end of the job.
Try the workflow
Convert multiple HEIC or HEIF originals to JPG or PNG, inspect previews, and download individual photos or a ZIP.
Open HEIC to JPG Converter →